

A few months ago, I was awarded an editor’s pick award from TravingView for an article I wrote breaking down a Keltner Channel strategy. Now, I can’t take all the credit for this because Adam Grimes did most of the work. I just know it works because I put in many hours backtesting. I will not reveal my exact strategy but, I will show you how to build yours. First, we must understand Keltner Channels what they are and what they are not.
What are Keltner Channels?
I will tell you what they are not, they are not Bollinger Bands. Now that we have that out of the way, let’s dive into Keltner Channels and how they can be used to help you in your trading.
Unlike, the Bollinger Band which uses the standard deviation of a 20-period moving average, the Keltner channel uses the average true range or ATR from an exponential moving average to define its channels.
Are Keltner Channels Better Than Bollinger Bands?
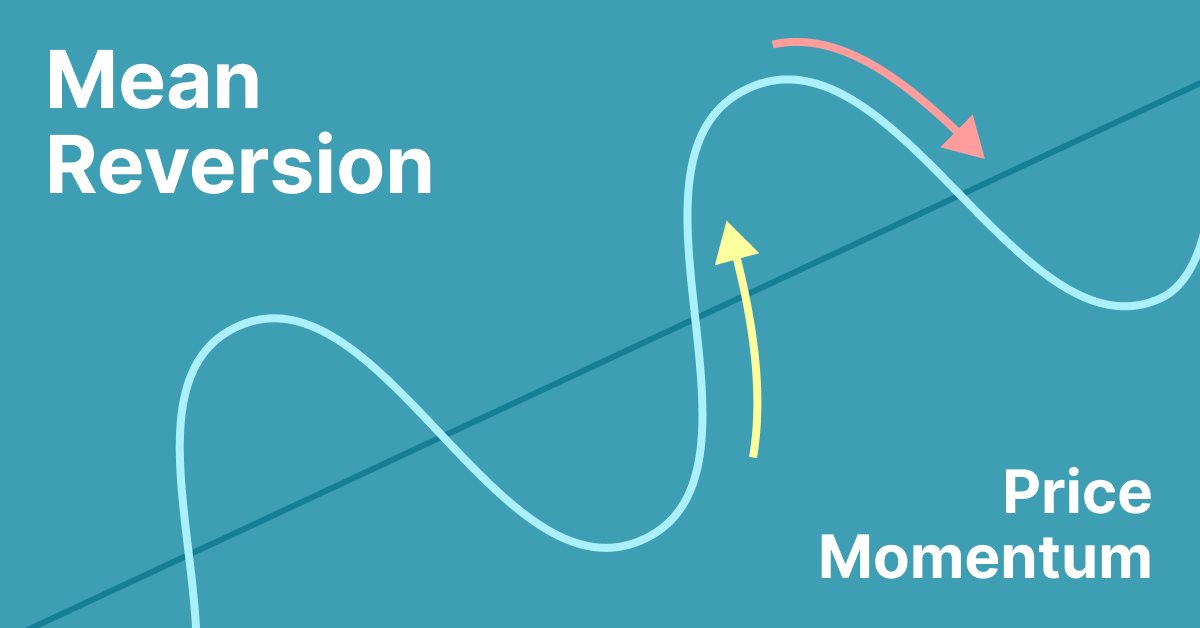
An indicator, is an indicator, is an indicator. First, you need to understand how they work then apply them to a strategy that fits your trading psychology and finally work on backtesting without confirmation bias. This is the only way you will get an indicator to work for you. What is important to takeaway from this section is that both of these indicators will provide you with different results.

What Makes ATR So Different?
Average True Range is a measure of volatility. When added to an indicator it is giving us a of current price compared to what it has done in the past. We can use this information to objectively view price. We can say something like, “When price touches the top or bottom channel, a new trend has begun.” Why can we say this? A touch of the channel indictors the some sort of volatility entered the market. In other words, price has been pushed up or down with some sort of urgency (usually by an institution) causing price to trend in the desired direction.
Along with the idea of channel touches creating trends, we can define market climaxes more objectively. When price spends time creating bars outside of the channel after a prolonged uptrend/downtrend we can say that price is climaxing and prepare to take reversal trades or just avoid trading pullbacks altogether.
The Keltner Channel Trade Setup
The trade itself contains 3 main components. 4 if you include the stoploss but, my stop loss is discretionary and would take a whole new article (maybe multiple) to explain it.
- The Touch
- The Pullback
- The Entry
Thats it! We are done here.
The Touch

This part is simple, we don’t do anything until we see price touch the top or the bottom of a channel. At this point, it is safe to assume that some sort of strong order flow came into the market in order to move price in that direction.
The Pullback

More waiting, quite literally do nothing! Just wait for price to pullback in the opposite direction of your trade. While you are waiting for price to pullback you can set limit orders and/or bracket your trade so that you can be automatic. Protecting yourself from doing something stupid.
The Entry
There are so many ways for you to enter this trade setup. Fortunately for you, I have added two more entries to this article not found in my TradingView article. The idea is to play with the entries listed here and develop an entry strategy that works for your personal trading psychology and your risk tolerance. Me? I prefer limit orders. I like to make the market.
Zero Line

The zero line is the something that I have noticed when looking at charts. It offers a great entry but, the downside is that there are not many opportunties. Combining multiple indicators usually results in this type of behavior. The two indicators end up filtering each other out.
Second Entry

Second entry techniques are used mostly by price action traders. These play off the concept of ABC patterns or “The market moves in 2’s and 3’s” just applied to lower time frames. When the market attempts to go lower twice but fails, price should reverse in the direction of the original trend. The downside to this entry is the fact that a stop order is needed to enter which requires much more speed and precision.
A Trigger Zone

Pictured in these charts you will see a green trigger zone that I coded up. When price falls into this zone, I like to go long on limit orders. My first iteration of this strategy included this zone. The zone can be made out of anything that makes sense to you. The down side to this entry technique is that you will be catching price as it is falling.
EMA Touch

Just as the name implies, you go long/short with the EMA is touched. Adam Grimes actually ran some testing on this strategy with some good results. The down side to this entry technique is that you will be catching price as it is falling.
Order Block Entry

An order block is formed on the last down candle in a bull flag or the last up candle in a bear flag. The order block acts as support and is said to be where instutions are looking to enter their orders. While you are catching price as it is falling with this entry, you are catching price at a level of support. This entry is one of my favorites.
50% Entry

This one is simple, just enter at a 50% retracement. If you have not read about the science behind 50% retracements, I highly suggest you get David Hasley’s book, “Trading the Measured Move: A Path to Trading Success in a World of Algos and High Frequency Trading“. Notice in the image price touches the top channel and then retraces 50%? This is a great entry strategy but, again we end catching falling price.
Stop Losses
Stop losses are very discretionary and they depend on the person trading. That is why I opted out of including a stop loss strategy in this article. The one thing I will say is that stop losses should be added once your entry is entered into your trading platform. No excuses and no changing things up. It could be as simple as the prior swing low.
Conclusion
I want to start by saying that I included this article in my studies category because I have studied this and I have come out with good results putting together different variations of this strategy. I have faith that you can do the same. I have given you the tools now its up to you to ask the right questions to yourself as well as answer yourself honestly.


Leave a Reply